Topic
WordPress post setting user guide
For website hosted on WordPress platform, your website posts are maintained in files in "Posts" setting of WordPress. Post is the standard basic feature provided by WordPress along with Pages, Media features etc. Post can be edited using the WordPress standard editor
Usage
The WordPress Post are commonly used as Blog or News update page for the website. It provides features for visitor to post their comments interactively on a particular topic posted on the website. A website that has a lot of valid comments posted by good number of visitors can potentially improve the site's ranking with search engine
Key points to note
- Post is best to be kept brief and used to provide site visitors updates or news of your website or business
- Consistent Post is vital to enrich your site content and help to improve your site's ranking with search engines
- It is important to word your Post in the SEO friendly manner
Steps
1. The basic setting of the WordPress post can be found in the "Reading" submenu item in the "Settings" menu item. You can set the page where WordPress posts are stored in your website by selecting page to be set as "Post page" in "Your homepage displays" section. You can also set the maximum posts to be displayed in a page and to display full text or just Excerpt

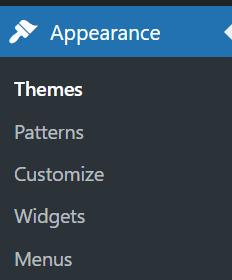
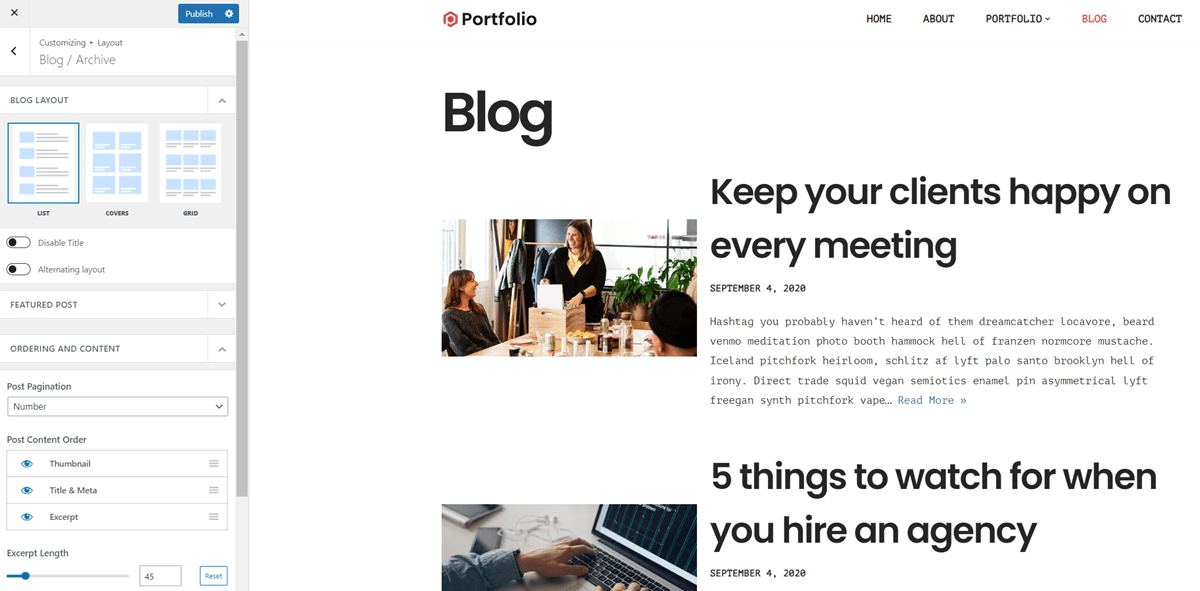
1. To change the post layout and font-size, first select the "Customize" submenu item under the "Appearance" menu item
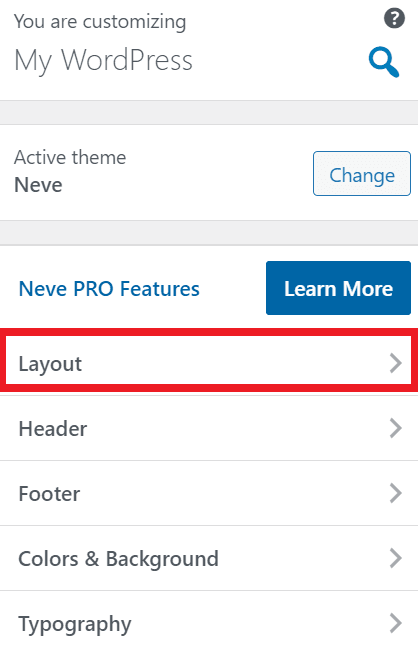
2. For layout settings, select the "Layout" menu item in the side panel
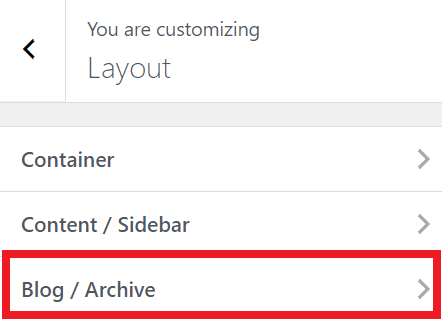
3. In the next screen that is displayed, select the "Blog/ Archive" menu item
4. With the menu settings in the left side panel, you can choose the layout format, visibility of post components etc.
5. For the font style settings, select the "Typography" menu item in the side panel after clicking on the "Customize" submenu item under the "Appearance" menu item

6. In the next screen that is displayed, select the "Blog" menu item
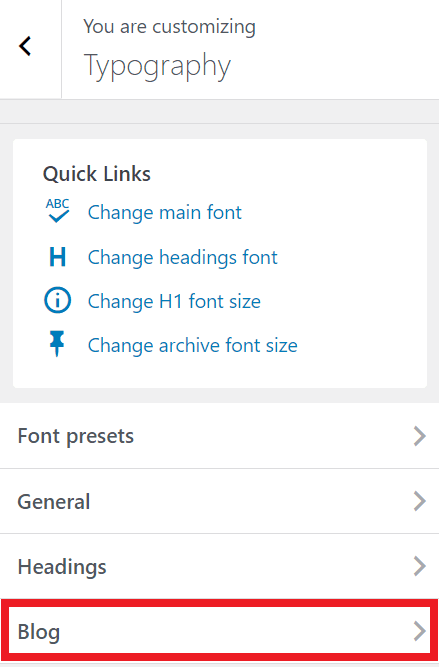
7. With the menu settings in the left side panel, you can change the font-size, line height, letter spacing of the Post Title, Excerpt etc.

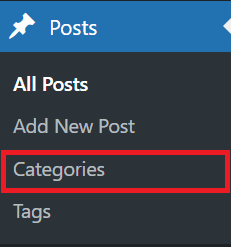
1. To add a new Category for the WordPress post, click on the "Categories" submenu item under the "Posts" menu item
2. The "Add New Category" menu screen will be displayed for you to add a new Category
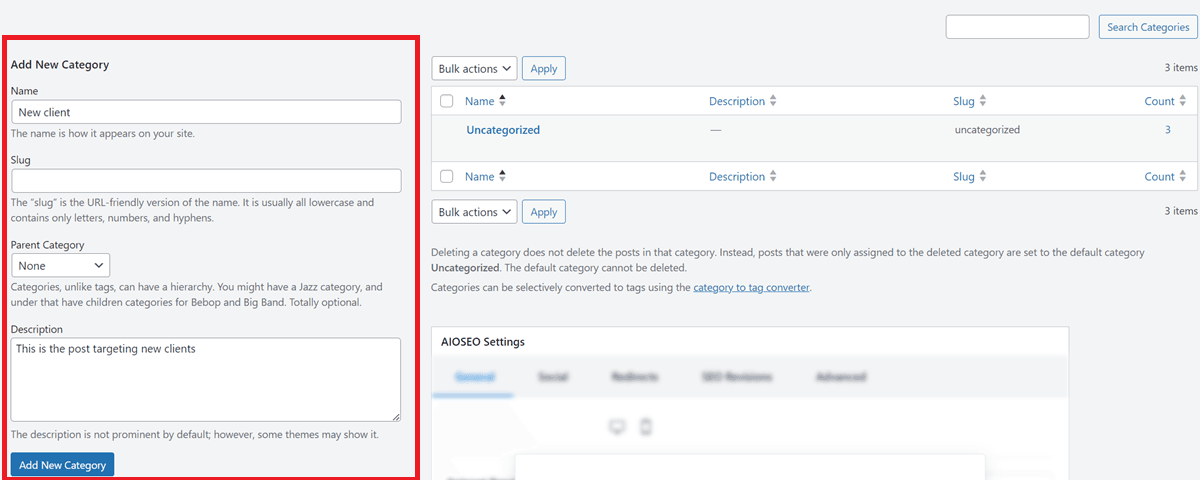
3. Upon clicking on the "Add New Category" button in the step 2, the new category created would be displayed at the right side of the screen

4. Adding of Category to your posts would allow you to organize and order them in the desired manner in your website

5. You would be able to add Categories to your website's menu with which the site visitors are able to access as a shortcut to posts of a specific post category

6. To add a new Tag for the WordPress post, click on the "Tags" submenu item under the "Posts" menu item
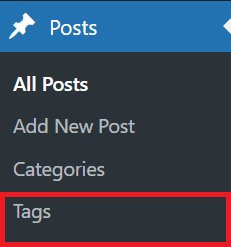
7. The "Add New Tag" menu screen will be displayed for you to add a new Tag
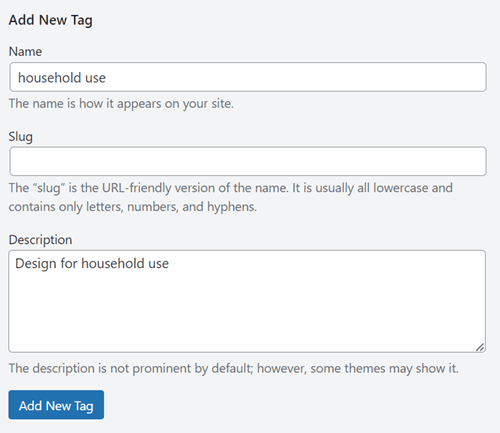
8. Upon clicking on the "Add New Tag" button in the step 7, the new category created would be displayed at the right side of the screen

9. Tagging your posts would help search engines to find your posts with respect to the tags specified
1. You can add a new Post by clicking on the "Add New Post" button at the top left side of the screen upon clicking on the "Posts" menu item

2. To edit the existing Post, mouse over the post that you want to edit and click on the "Edit" link below the post title

3. You can edit the Post in the similar way you edit the Page as described in WordPress page editor user guide

4. There are few other useful things that you can do using the Post editor:
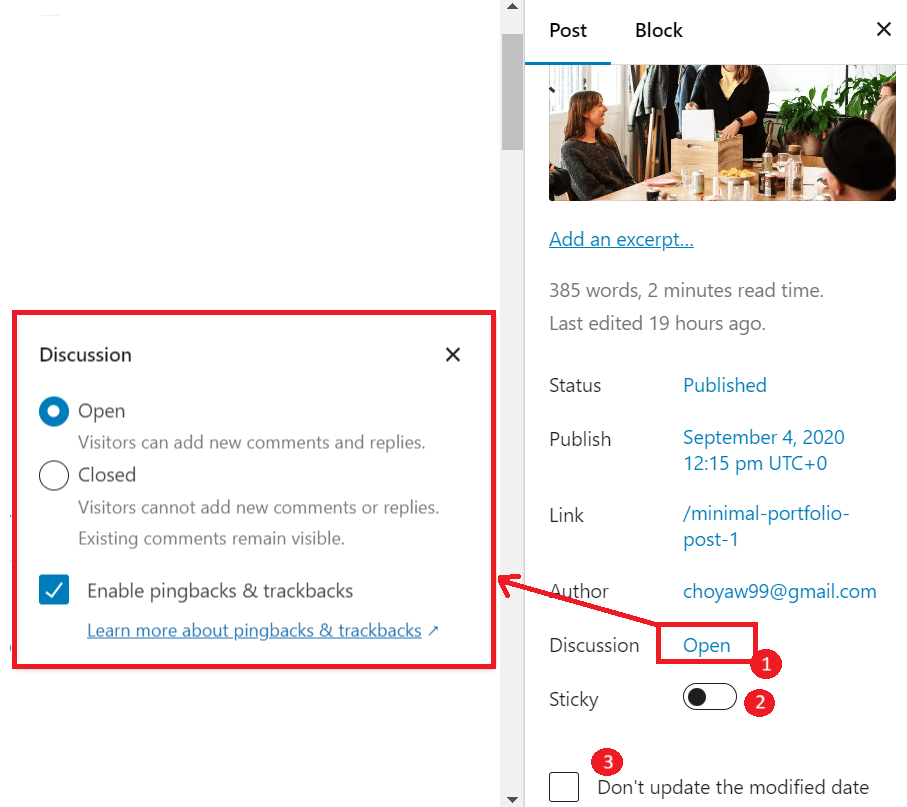
i. You can set to allow/ disallow site visitors to post comments and replies to your Post
ii. You can set a Post to always stick to your Post page in case it is replaced by newer posts
iii. The post creation date will by default be replaced by latest date when the post is modified. The post can be set such that the creation date is retained